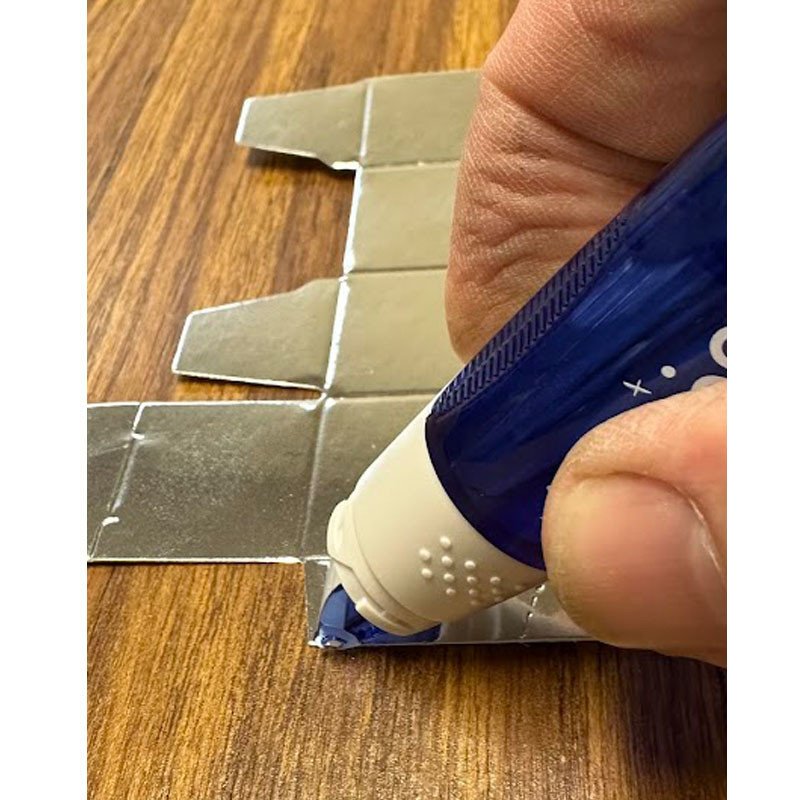
A glue tape dispenser in the United States usually means a glue tape runner or adhesive roller. It applies a thin strip of dry glue from a plastic cartridge. When the tape stops sticking, skips, jams, or will not move, the problem is often a loose refill, poor threading, a dirty roller, or an empty cartridge.
Most glue tape dispensers can be fixed in a few minutes. Start with the refill and tape path. Do not pull hard on the tape, force the gears, or use a sharp tool near the roller.
First, identify the type of glue tape dispenser
A glue tape dispenser has a small supply reel, a guide path, and a take-up reel. The adhesive strip passes over the front roller and transfers to paper, cardboard, photos, or another smooth surface.
There are two common types:
- Refillable dispensers: The outer case opens, and you install a replacement cartridge.
- Sealed dispensers: The refill sits inside a closed plastic shell. You usually replace the whole cartridge instead of opening it.
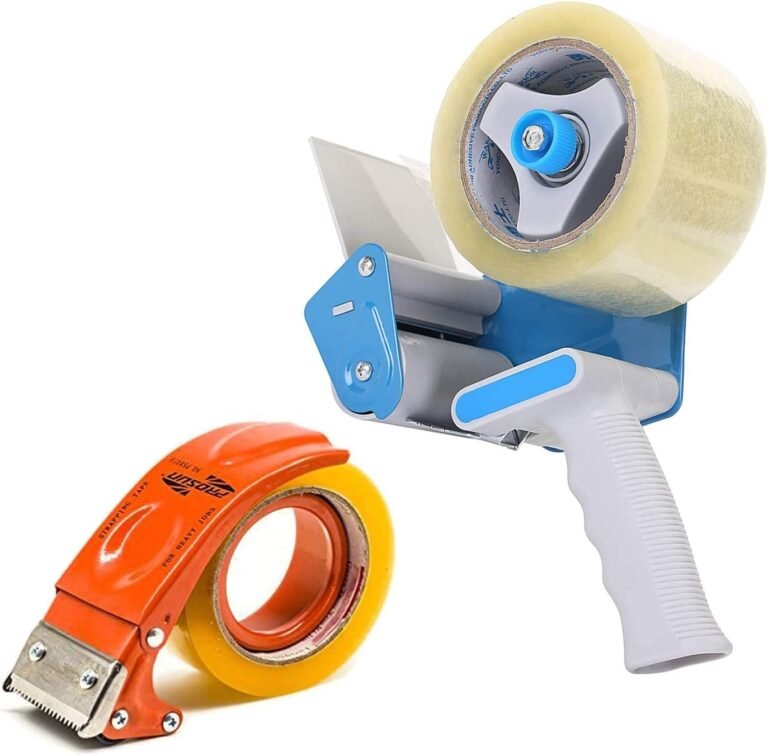
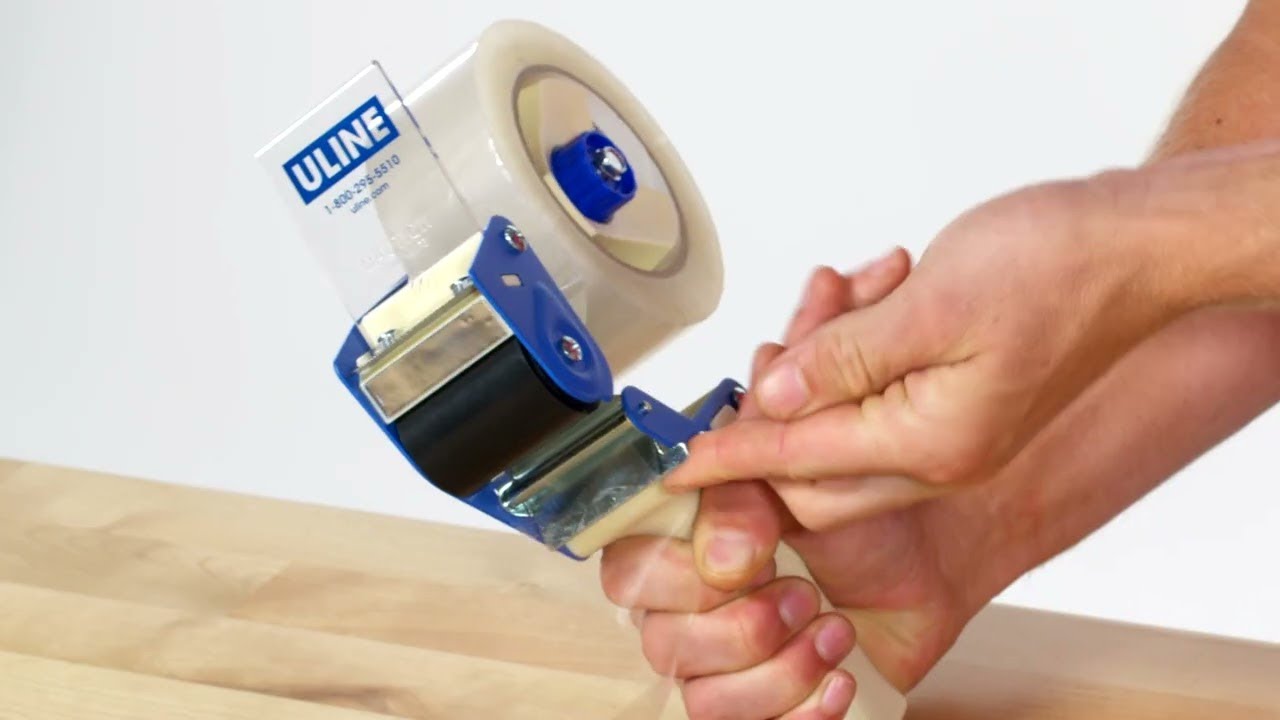
Some products look like glue tape dispensers but work differently. A correction tape dispenser lays down white correction film. A packing tape gun holds a large roll of pressure-sensitive tape. The repair steps below focus on small, dry adhesive roller dispensers used for crafts, schoolwork, scrapbooking, and office tasks.
Check these parts before you start
Look for:
- The supply reel, which holds the unused tape
- The take-up reel, which collects the backing
- The front application roller
- The guide tabs or tracks
- The case clips or screws
- Any visible tape, backing, dust, or dried glue
If the dispenser has a cracked case, broken gear, or loose roller axle, replacement may be more practical than repair.
Quick diagnosis: match the symptom to the likely cause
The symptom often tells you where to look first.
| Problem | Likely cause | First fix to try |
|---|---|---|
| No glue comes out | Empty refill, broken tape, or wrong threading | Open the case and inspect the tape path |
| Tape comes out but does not stick | Adhesive is worn, contaminated, or stored in heat | Clean the roller and test on clean paper |
| Tape skips or breaks | Tape is loose, twisted, or pulled at an angle | Remove slack and guide the dispenser straight |
| Tape bunches up | Take-up reel is not turning or the tape is misaligned | Reseat the refill and check the reel |
| Tape stays on the backing | The application roller is not pressing evenly | Clean or reseat the front roller |
| The dispenser makes clicking sounds | Gear teeth are slipping or the reel is jammed | Stop pulling and inspect for a jam |
| The case will not close | Refill is not seated or tape is outside the guide | Rethread the tape and close the case gently |
| The roller is stuck | Dried glue, dirt, or a damaged axle | Clean around the roller; replace if damaged |
These causes are common, but the exact design varies by brand and model. If a printed diagram is included with the refill, follow it over a general guide.
How to fix a glue tape dispenser step by step
Work on a clean, flat surface with good light. Keep the dispenser away from children while the case is open. You normally do not need glue remover, oil, heat, or strong chemicals.
1. Stop using the dispenser as soon as it jams
Do not keep pulling the dispenser across paper if the tape has stopped. Continued force can stretch the adhesive strip, strip the gears, or pull the tape off the guide.
Set the dispenser down and inspect the front roller. If a loop of tape hangs from the tip, do not yank it. Hold the tape near the case and ease it back along the normal path.
2. Check whether the cartridge is empty
Look through the case if it is clear or partly transparent. An empty refill may still show a small piece of backing, which can make the dispenser look loaded.
For a sealed cartridge, compare the supply reel with the take-up reel. If the supply reel is empty and the take-up reel is full, replace the cartridge.
For a refillable model, remove the cartridge and check whether the adhesive roll has reached its end. Do not try to create a new roll by joining loose adhesive tape unless the manufacturer provides that repair method.
3. Open the dispenser carefully
Many cases use snap clips. Some use a small screw. Check the side, bottom, or rear for a seam or fastener.
Use your fingers to separate snap-fit plastic. If you need a tool, use a plastic pry tool rather than a knife. Stop if the case begins to crack or the clips bend.
A damaged case can let the refill shift during use. That can cause repeated tape jams even after you install a new cartridge.
4. Remove loose or twisted tape
If the tape has folded, crossed over itself, or slipped off a guide, remove the damaged section if the design allows it.
Pull only enough to reach a flat, clean section. Cut away a torn section with small scissors. Keep the cut square and avoid cutting the thin backing that still needs to wind onto the take-up reel.
If the adhesive strip has separated from its backing over a long section, replacement is usually better than repair. Rejoining it may cause more skips and uneven application.
5. Reseat the refill
Place the refill into the case so that:
- The supply reel sits on its correct post.
- The adhesive side faces the application roller.
- The tape passes through every guide.
- The backing travels toward the take-up reel.
- The refill lies flat and does not wobble.
The exact direction differs between models. If the tape path is printed on the cartridge, use that diagram. A refill that fits physically can still be installed backward.
6. Remove slack from the tape
The tape should be firm but not tight like a guitar string. Turn the take-up reel by hand, if possible, until the loose section disappears.
Do not wind a large amount of tape onto the take-up reel. Too much backing can make the case bulge or prevent the gears from turning.
If the take-up reel will not turn, look for:
- Tape caught under a guide
- A bent reel post
- A broken gear
- Adhesive stuck to the case
- A refill that is not fully seated
7. Clean the application roller
Dust and paper fibers can collect on the front roller. Dried adhesive can also make the roller drag.
Use a dry, lint-free cloth or a cotton swab to clean the roller and nearby guides. For stubborn residue, lightly dampen the cloth with water and let the part dry fully before reassembly.
Avoid soaking the dispenser. Avoid acetone, paint thinner, petroleum products, and other strong solvents unless the manufacturer specifically approves them. These chemicals can soften plastic or damage the adhesive.
8. Close the case without pinching the tape
Before closing the shell, check that the tape sits inside its guide. No section should run across the edge of the case.
Press the halves together slowly. If they do not close with light pressure, open them again. A refill that is slightly out of position can pinch the tape or crack the housing.
Do not use screws or clips to force a case shut. That usually means the refill, tape path, or take-up reel still needs attention.
9. Test the dispenser on scrap paper
Use clean copy paper or another smooth, dry surface. Hold the dispenser at a slight angle and pull it in one steady motion.
Test these points:
- Does the roller turn smoothly?
- Does the glue form a continuous strip?
- Does the tape stay on the paper?
- Does the backing wind onto the take-up reel?
- Does the tape remain centered?
If the first inch is uneven, make two or three short test passes. If the problem continues, stop and inspect the refill again.

How To Fix A Tape Dispenser in Under 2 Minutes (Quick & Easy Fixes)
How to fix common glue tape problems
The glue tape is not sticking
First, test the dispenser on clean, dry paper. Dust, oil, moisture, and textured surfaces can reduce adhesion.
If the tape does not stick on clean paper, inspect the adhesive strip. It may be contaminated, aged, overheated, or facing the wrong direction. Some glue tapes are designed for paper and light craft materials only. They may not bond well to glossy plastic, fabric, coated board, or dusty surfaces.
Do not press harder as the first solution. Excess pressure can make the tape skip or damage the roller.
The tape skips or leaves gaps
Skipping often means the dispenser is moving too fast, held too upright, or pulled at an angle. Try a slower, straight pass with steady contact between the roller and the paper.
If the problem occurs even with a slow pass, check for:
- A loose refill
- A bent roller
- A twisted tape path
- A stretched adhesive strip
- A slipping take-up reel
A worn gear may turn the roller in short bursts instead of smoothly. If the gear teeth are damaged, cleaning will not restore normal operation.
The tape comes out in a long strip
This usually means the take-up reel is not collecting the backing. The reel may be blocked, disconnected, or incorrectly threaded.
Open the case and check that the backing reaches the take-up reel. Remove slack, then turn the reel by hand. If the reel spins freely without winding the backing, its hub or gear may be broken.
The adhesive transfers to the wrong side
The refill may be backward, or the tape may have left the guide. The sticky side must face the application roller in the direction shown by the refill diagram.
Remove the refill and trace the path from the supply reel to the front roller, then to the take-up reel. If the tape has crossed over itself, straighten it before closing the case.
The roller turns but no adhesive appears
The adhesive layer may be on the opposite side of the tape. It can also be separated from the backing after a hard jam.
Check the direction first. If the direction is correct and the tape still remains on its backing, replace the refill. Trying to scrape or spread the adhesive can make the dispenser less reliable.
The dispenser clicks or grinds
Clicking can happen when a gear slips under load. Grinding may indicate a cracked gear, a bent post, or a jammed reel.
Stop using the dispenser. Continuing to pull may damage the gear teeth. After checking for trapped tape, replace the cartridge if it is a sealed type. If the noise remains with a new cartridge, the dispenser body may need replacement.
When should you replace the refill or the whole dispenser?
Replace the refill when:
- The supply reel is empty.
- The adhesive is dry, dirty, or separated.
- The tape is badly twisted.
- The cartridge does not wind the backing correctly.
- The refill is damaged but the outer case works normally.
Replace the whole dispenser when:
- The front roller is cracked or permanently loose.
- The case will not stay closed.
- The gears slip with a new, correctly installed refill.
- The refill posts are broken.
- The model has no available replacement cartridge.
- Repair would cost more time than a comparable replacement.
A refill is usually the better choice when the case, roller, and gears are sound. A new dispenser makes more sense when the housing or drive system is damaged.
How to prevent future glue tape jams
Store the dispenser in a cool, dry place away from direct sunlight. High heat can affect the adhesive and may deform a plastic case.
Use the dispenser on a clean, flat surface. Keep the roller free from paper dust and craft debris. When applying glue, use one smooth pass rather than repeated short scrubs.
Do not press down with excessive force. The roller only needs enough contact to transfer the adhesive. Pulling sideways can also move the tape off its guide.
Keep the cap on the dispenser if it has one. A cap protects the roller from lint and keeps the adhesive surface cleaner.
When installing a new refill, save its diagram or packaging until the dispenser works correctly. Some cartridges look similar but use different tape paths or case shapes.
Safety and material limits
Dry glue tape is generally simple to handle, but it is still an adhesive product. Follow the label and the manufacturer’s instructions for the specific model.
Use the dispenser in a ventilated area if the product label calls for it. Keep adhesive away from eyes, food, and surfaces that must remain residue-free. Do not use a damaged dispenser if sharp plastic or exposed metal can contact your skin.
Do not use heat to soften a jam. Heat can deform the case and change the adhesive. Do not add oil to the gears because oil can spread onto the tape and paper.
If a child uses the dispenser, choose a model made for the child’s age and supervise case opening, cutting, or refill changes.
Key takeaways
- Most glue tape dispenser problems come from a loose refill, incorrect threading, tape slack, or a dirty roller.
- Stop pulling as soon as the tape jams.
- Check the tape path before trying to clean or repair the gears.
- Use a dry cloth or a lightly damp cloth for residue; avoid harsh solvents.
- Replace a sealed cartridge when its tape is damaged or its adhesive no longer transfers.
- Replace the whole dispenser when the case, roller, or gears are broken.
- Test the repaired dispenser on scrap paper before using it on a finished project.
Frequently asked questions
Can I repair a glue tape dispenser without opening it?
Sometimes. You can remove light tape slack, clean the exposed roller, and test the dispenser without opening the case. If the tape is tangled, the refill is backward, or the take-up reel is not working, you will usually need to open a refillable model or replace a sealed cartridge.
Why does my glue tape dispenser work on paper but not cardboard?
Cardboard can have a rough, dusty, coated, or porous surface. The adhesive may not be designed for that material. Test on clean, smooth cardboard and use firm, even contact. If the tape still fails, check the product label for its intended materials.
Can I use rubbing alcohol to clean the glue roller?
Only use it if the manufacturer permits it. Alcohol can affect some plastics, printed markings, or adhesive parts. Start with a dry cloth or water-dampened cotton swab, then let the dispenser dry completely.
How do I know if the glue tape refill is installed backward?
The tape will often stay on the backing, transfer adhesive to the wrong side, or fail to reach the application roller correctly. Remove the refill and compare its path with the diagram on the cartridge or package.
Is a glue tape dispenser worth fixing?
Yes, if the case and gears are intact and the problem is a loose or empty refill. If the case is cracked, the roller axle is broken, or the gears slip with a new refill, replacement is usually the more reliable option.
Conclusion
To fix a glue tape dispenser, begin with the simplest checks: stop the jam, inspect the refill, restore the correct tape path, remove slack, and clean the application roller. Test the dispenser on scrap paper before returning to your project.
If the adhesive is damaged or the cartridge is empty, replace the refill. If the dispenser has broken gears, a cracked case, or a loose roller, replacing the entire unit will usually save time and prevent repeated jams.