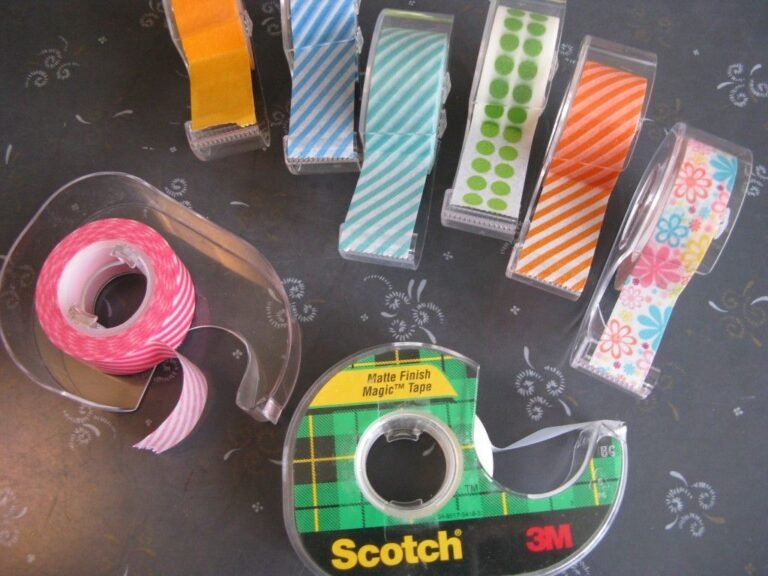
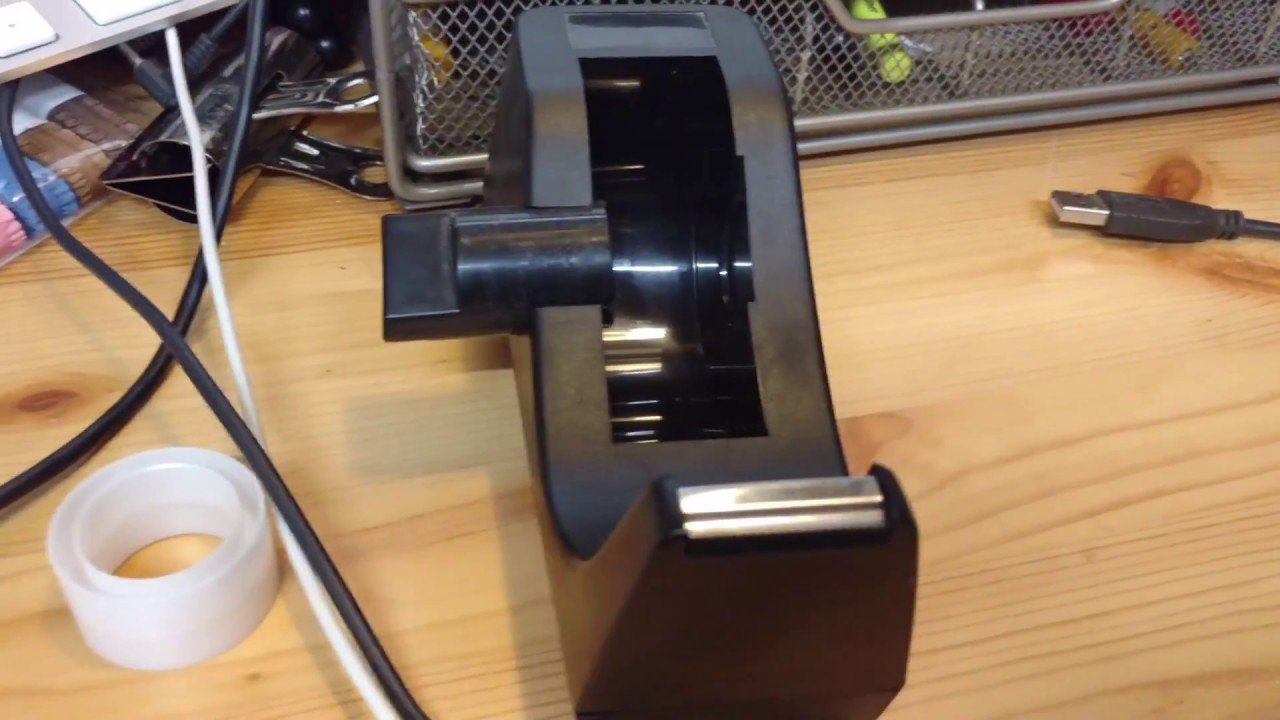
A tape dispenser that will not cut, feed, or hold tape can often be fixed in a few minutes. In homes, offices, classrooms, and shipping rooms across the United States, most tape dispenser problems come from a dull or blocked cutter, a loose roll, incorrect threading, or tape residue.
Start with the safest fix: remove the tape roll, check the cutting edge, clean sticky parts with rubbing alcohol, and reload the tape in the correct direction. If the frame is cracked or the blade is loose, replacement is usually safer than repair.

Identify the Type of Tape Dispenser
The repair depends on the type of dispenser you have. Most models fall into one of these groups:
- Desktop tape dispenser: Holds a small roll of clear office tape and uses a toothed metal cutter.
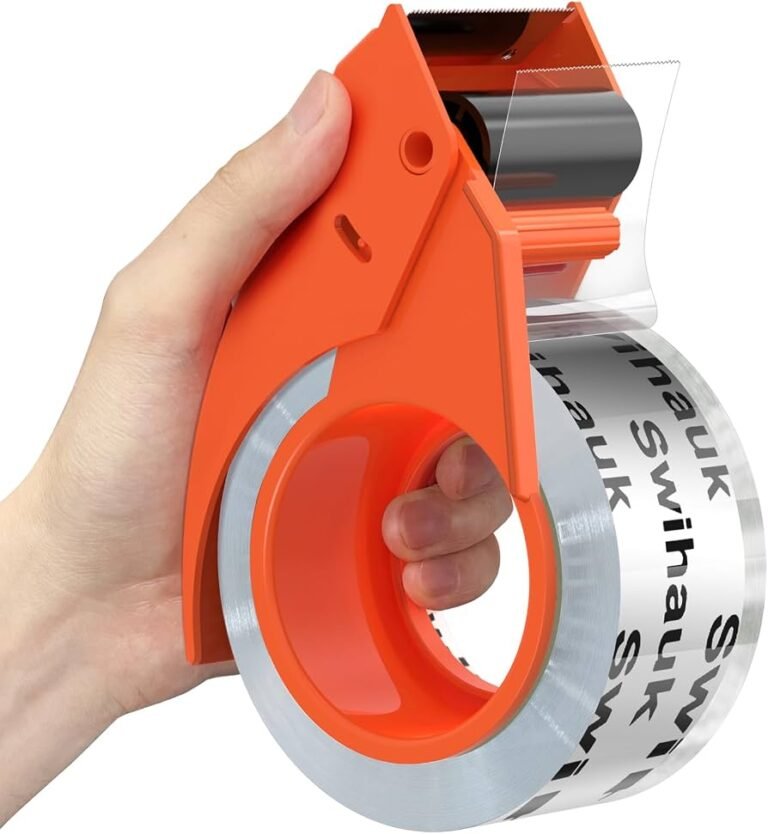
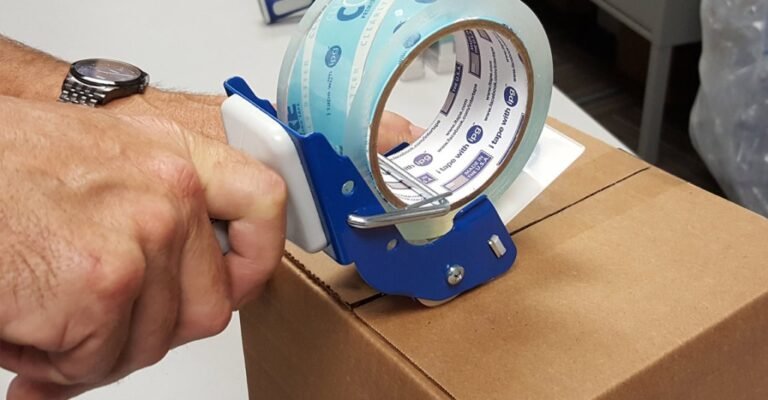
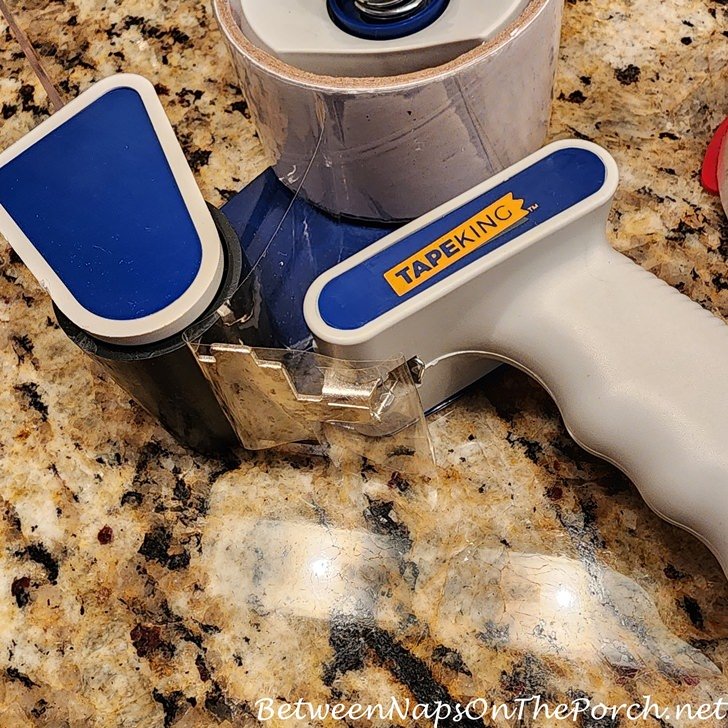
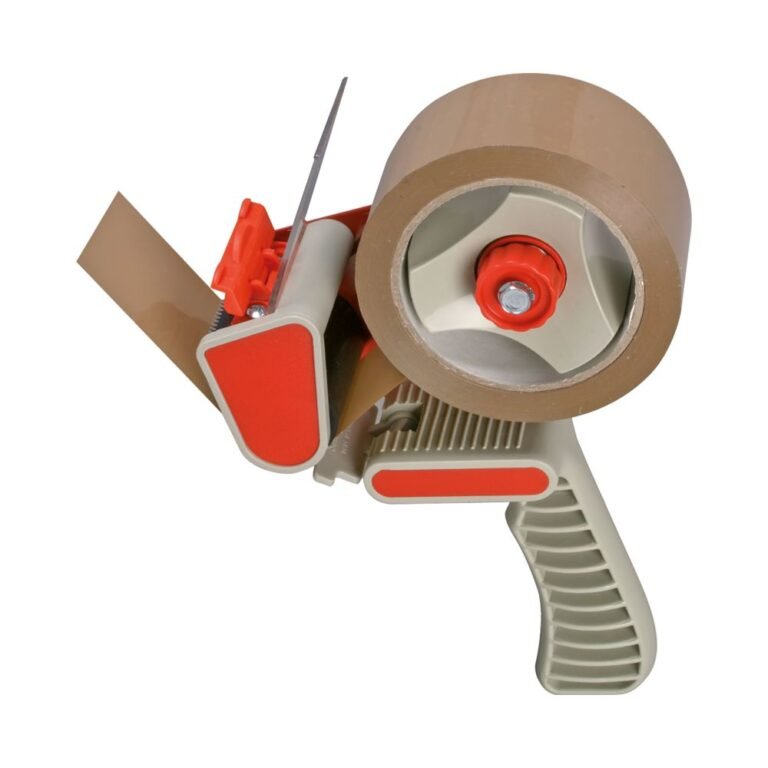
- Handheld packing tape gun: Holds a wide roll of shipping tape and usually has a tension control and serrated cutting blade.
- Wall-mounted or tabletop dispenser: Holds one or more rolls for repeated use.
- Water-activated tape dispenser: Moistens gummed paper tape before application.
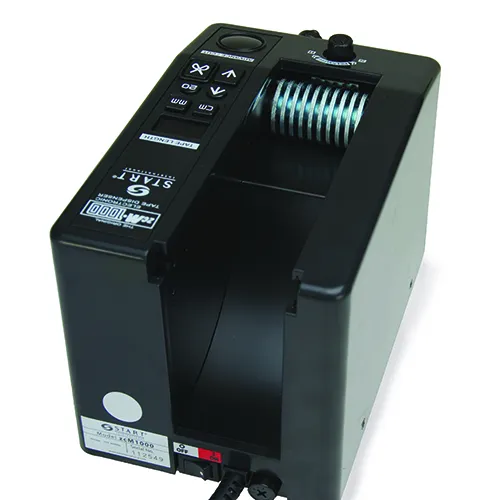
- Electric or automatic dispenser: Feeds and cuts tape with a motor or sensor.
This guide focuses mainly on desktop and handheld tape dispensers. Electric and water-activated models need a few extra checks.
What you need
Gather:
- A replacement roll of the correct width
- A soft cloth
- Warm water and mild dish soap
- Isopropyl alcohol, often called rubbing alcohol
- Cotton swabs
- A small screwdriver, if the model uses screws
- Work gloves, if you must handle a sharp cutter
Do not use a knife to pry out a stuck tape roll. The blade can slip and cause a cut.
Fix a Tape Dispenser That Will Not Cut
A dispenser that will not cut tape usually has adhesive buildup, a bent cutter, a dull edge, or tape that is not touching the cutting teeth at the right angle.
1. Remove the tape roll
Pull the tape back from the cutter. If the tape is stuck, cut it with scissors several inches away from the dispenser. Then remove the roll from its holder.
This gives you a clear view of the cutter and prevents the roll from pulling against your hands while you work.
2. Inspect the cutting edge
Look for:
- Tape residue covering the teeth
- Bent or flattened teeth
- A cutter that has moved out of position
- Loose screws
- Rust or damage
- A plastic cutter that has cracked
A metal cutter may still work if it is dirty. A cutter with missing teeth, a deep bend, or a crack should usually be replaced.
3. Clean the cutter
First, brush away dry dust and torn tape. Then dampen a cloth or cotton swab with isopropyl alcohol and wipe the teeth.
Let the alcohol evaporate before loading tape. Do not pour liquid into the dispenser. Excess moisture can damage springs, bearings, or electric parts.
For a desktop dispenser, mild soap and warm water can clean the plastic body. Keep the cutter dry during this step.
4. Check the cutting angle
Pull the tape across the cutter with firm, even pressure. Most dispensers cut best when the tape meets the teeth at a slight angle rather than straight down.
Do not press your fingers against the teeth. Hold the tape by its free end and keep your other hand behind the cutter.
5. Replace a damaged cutter
Some desktop dispensers use a removable cutter held by a screw or clip. If the manufacturer provides a replacement part, install it in the same position as the old one.
If the cutter is permanently molded into a low-cost plastic dispenser, replacing the whole dispenser is usually more practical. Do not sharpen a serrated tape cutter with a file. This can change the tooth shape and create a less predictable cutting edge.
Fix Tape That Will Not Feed or Unroll
When tape will not feed, the roll may be installed backward, stuck to the holder, too tight, or damaged at the edge.
Reload a desktop tape dispenser
- Remove the empty core or old roll.
- Place the new roll on the spindle.
- Make sure the tape’s sticky side faces down or toward the intended path.
- Pull the tape through the guide, if the dispenser has one.
- Leave a short tape tab beyond the cutter.
- Pull the tape gently to confirm that the roll turns freely.
The exact direction varies by design. If the tape sticks to the wrong surface or feeds away from the cutter, turn the roll around and test it again.
Reload a packing tape gun
Most packing tape guns use this path:
- Place the roll on the hub.
- Pull the tape from the bottom of the roll.
- Guide it between the tension roller and the metal support.
- Pull the tape under or around the front guide, based on the dispenser design.
- Leave the sticky side facing the box.
- Pull the tape across the serrated blade to cut it.
The tape should unwind as the gun moves forward. If it unwinds backward, remove the roll and reverse it.
Free a stuck roll
A roll can stick when adhesive leaks onto the spindle or when the cardboard core is crushed.
Try these steps:
- Remove loose tape from the spindle.
- Wipe the spindle with a cloth lightly dampened with alcohol.
- Check for a bent spindle.
- Replace a crushed or split core.
- Avoid oil unless the manufacturer specifically allows it.
Oil can spread onto the tape and reduce adhesion. It can also collect dust inside the dispenser.
Check the tape itself
Tape may fail to feed because:
- The roll is wound unevenly.
- The edge is folded over.
- The tape has bonded to the layer below.
- The adhesive has softened from heat.
- The roll is too wide for the dispenser.
Cut away the damaged section and try again. If the roll is misshapen, replace it.
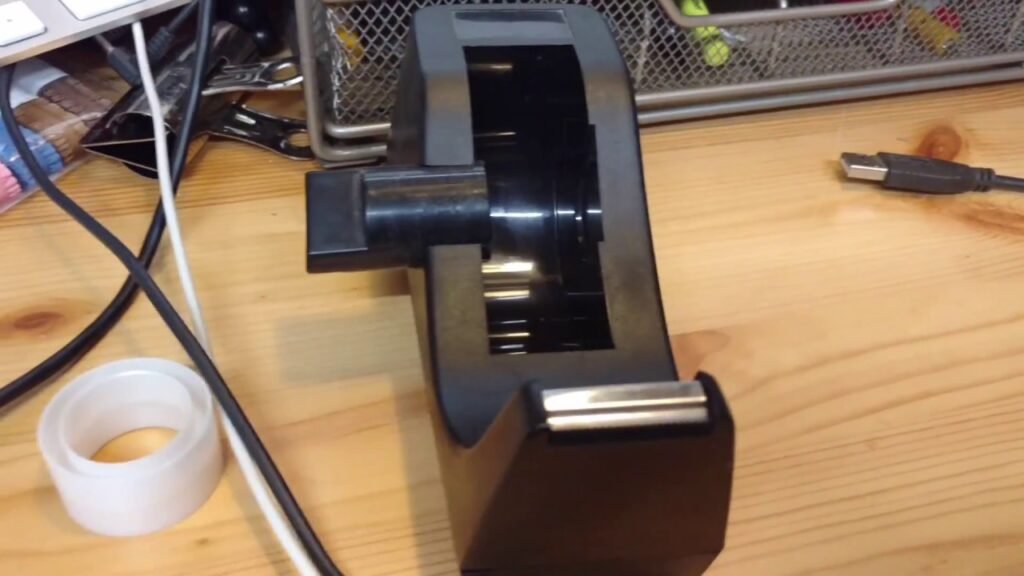
Fix a Tape Dispenser That Keeps Tearing Tape
Tape that tears before reaching the cutter often points to too much tension, a rough guide, or a damaged tape edge.
Reduce excessive tension
Handheld packing tape guns often have a tension knob. Turn it slightly counterclockwise to reduce drag, then test the dispenser.
Make small changes. Too little tension can make the tape loose and hard to control. Too much tension can stretch the tape, split the edge, or pull the roll off its track.
Inspect the guides and roller
Run a cotton swab along the tape path. Look for:
- Burrs on a metal guide
- Dried adhesive
- A roller that does not turn
- A cracked plastic guide
- A spring that has slipped out of place
Clean residue with isopropyl alcohol. If a roller is stuck, remove debris around its axle. Do not force it if the axle is sealed or the body starts to crack.
Use the right tape width
A dispenser made for 2-inch packing tape may not safely hold a narrower or wider roll. The roll can shift from side to side and tear at an angle.
Check the dispenser label or manual for the supported roll width and core size. A close fit is not always a correct fit.
Keep the tape aligned
Pull the dispenser in a straight line. If the gun twists sharply while the tape is under tension, the tape may tear along one edge.
For a clean cut, press the tape onto the box first. Then tilt the dispenser so the blade contacts the tape across its width.
Fix a Loose, Wobbly, or Noisy Dispenser
A loose dispenser is often caused by a missing washer, loose screw, worn hub, or damaged base.
Desktop dispenser repairs
Check the base and spindle for:
- Missing rubber feet
- Loose screws
- A cracked spindle
- A bent cutter mount
- A roll that is too large for the base
Tighten loose screws with the correct screwdriver. Do not overtighten screws in thin plastic. The plastic can split around the screw hole.
Replace missing rubber feet with matching adhesive-backed feet. A stable base helps the cutter work because the dispenser stays still while you pull the tape.
Handheld tape gun repairs
Inspect the hub, handle, and tension assembly. A small amount of side-to-side movement may be normal, but a cracked handle or loose blade bracket is not.
Stop using the dispenser if:
- The blade moves when touched lightly.
- The handle has a sharp crack.
- A spring is loose.
- The tape roll can fall off the hub.
- The metal frame is bent into the tape path.
These faults can cause cuts or poor package seals. A replacement dispenser is often cheaper and safer than trying to reshape the frame.
Remove harmless rattles
A rattle may come from a loose screw, a washer, or a small spring. Remove the tape roll and gently shake the dispenser to locate the sound.
Do not open a sealed electric dispenser unless the instructions allow it. Unplug it before inspection, and keep fingers away from powered rollers and blades.
Fix Tape That Does Not Stick After Dispensing
The dispenser may be working correctly even when the tape does not stick. The problem may be the tape, the surface, or the application method.
Clean the surface
Shipping tape adheres best to a clean, dry box surface. Dust, oil, frost, and moisture can reduce contact.
For cardboard, brush away loose dust. For plastic or metal, use a cleaner that will not damage the surface and allow it to dry fully.
Apply steady pressure
Pull the tape across the seam while keeping moderate tension. Then press the tape down with the dispenser roller or your hand.
Do not stretch ordinary carton-sealing tape too far. Excess stretch can make the tape pull back from the box edges.
Check storage conditions
Heat can soften some adhesives, while cold can make them less tacky. Let tape reach room temperature before use when possible.
Follow the tape maker’s storage directions. Avoid storing rolls in direct sun, a hot vehicle, or a damp area.
Match the tape to the job
Office tape, painter’s tape, masking tape, duct tape, and shipping tape have different adhesives and backing materials. A dispenser designed for one type may feed another, but the result may be poor.
Use tape that matches the dispenser width, core size, and intended purpose.
How To Fix A Sticky Tape Dispenser (Here’s How to Make It Smooth Again)
Repair a Water-Activated or Electric Tape Dispenser
Specialty dispensers need extra care. Do not treat them like a simple desktop tape holder.
Water-activated tape dispenser
If a water-activated dispenser does not wet the tape:
- Unplug the unit if it has a power cord.
- Empty the water tray.
- Remove paper dust and adhesive from the brush or roller.
- Clean the tray with warm water.
- Check that the brush makes contact with the tape.
- Refill with the amount of water listed in the manual.
- Test a short piece of tape.
Do not add glue, detergent, or other chemicals unless the manufacturer specifically permits them. These materials can damage the pump, brush, or tape.
If the motor runs but the brush does not move, the drive gear or belt may be worn. That repair often requires a model-specific part.
Electric or automatic tape dispenser
Before troubleshooting, unplug the dispenser. For battery-powered units, remove the batteries when the instructions permit it.
Check:
- The power cord or batteries
- The tape width setting
- The sensor area
- The feed roller
- The cutter position
- A jammed tape path
Use a dry brush or cloth around sensors. Avoid spraying cleaner inside the unit.
If the motor runs continuously, the sensor misreads tape, or the blade moves without a command, stop using the dispenser. Contact the manufacturer or a qualified repair service if the model is worth repairing.
Troubleshooting Table
Use this table to narrow down the likely cause before taking the dispenser apart.
| Problem | Likely cause | First action |
|---|---|---|
| Tape will not cut | Dirty, bent, or loose cutter | Clean and inspect the cutter |
| Tape will not unroll | Roll installed backward or stuck hub | Reload the roll and clean the spindle |
| Tape tears on one side | Misalignment, burr, or high tension | Check guides and reduce tension |
| Dispenser slides on the desk | Missing feet or unstable base | Replace feet and tighten screws |
| Packing tape gun jams | Wrong tape path or crushed core | Remove the roll and reload it |
| Tape will not stick | Dirty surface or unsuitable tape | Clean the surface and use matching tape |
| Automatic unit will not feed | Power, sensor, or motor issue | Unplug, clear the path, and check the manual |
| Cutter feels loose | Broken mount or missing fastener | Stop use and replace the part or unit |
The most useful rule is to test one change at a time. If you clean the cutter, change the roll, and adjust the tension at once, you may not know which step solved the problem.
When Should You Replace the Tape Dispenser?
Replace the dispenser when its main load-bearing or cutting parts are damaged. Cleaning can fix residue and minor jams, but it cannot restore cracked plastic or a cutter that has lost its shape.
Replacement is usually the better choice when:
- The cutter is permanently damaged.
- The frame has a crack.
- The tape roll will not stay centered.
- A spring or gear is missing.
- The dispenser exposes a loose sharp edge.
- The repair requires parts that are not sold for that model.
- The cost of parts and labor approaches the cost of a new dispenser.
For a basic office dispenser, replacement is often simple. For an industrial or automatic model, a model-specific service manual may make repair worthwhile.
Common Mistakes to Avoid
Avoid these mistakes while fixing a tape dispenser:
- Using a bare finger to test sharpness: Test the cutter with tape, not skin.
- Forcing a roll onto the hub: A tight fit can crack the core or damage the spindle.
- Spraying cleaner into the mechanism: Liquid can reach springs, gears, and electronics.
- Using oil on the tape path: Oil may reduce adhesion and collect dust.
- Sharpening serrated teeth: The cutter may become uneven or unsafe.
- Ignoring the correct tape size: Width and core diameter affect tracking.
- Pulling tape at a severe side angle: This can cause tearing and uneven cuts.
- Repairing a powered unit while plugged in: Disconnect power before clearing a jam.
Keep the cutter pointed away from your body during inspection. Store the dispenser where children cannot reach exposed blades.
Key Takeaways
- Clean the cutter and tape path before replacing parts.
- Reload the roll with the sticky side facing the correct direction.
- Check the roll width, core size, guides, and tension.
- Replace cracked frames, loose blades, and badly bent parts.
- Unplug electric and water-activated models before inspection.
- Test the dispenser with a short piece of tape after each repair.
FAQs
Why does my tape dispenser cut the tape unevenly?
An uneven cut usually comes from a dirty or bent cutter, a loose blade mount, or tape pulled at an angle. Clean the cutter, check the mount, and pull the tape straight across the teeth.
How do I keep tape from sticking to the dispenser?
Clean adhesive residue from the guides, spindle, and cutter with isopropyl alcohol. Also check that the roll is loaded in the correct direction and that the tape is not wandering into the frame.
Can I replace the blade on a tape dispenser?
Some models have replaceable cutters secured by screws or clips. Check the manufacturer’s instructions or parts list. If the blade is molded into the plastic body, replacing the dispenser is usually safer.
Why is my packing tape gun so hard to pull?
The tension setting may be too tight, the roll may be installed backward, or the hub may be dirty. Reduce tension slightly, reload the roll, and clean the hub and tape guides.
Can I use duct tape in a regular tape dispenser?
Only if the roll matches the dispenser’s width and core size. Duct tape is thicker and may create too much drag for a small office dispenser. A handheld dispenser made for heavy tape is a better fit.
What should I do if the dispenser still does not work?
Remove the roll and test the empty mechanism. If the cutter, hub, or feed path still binds, look for a model-specific manual or replacement part. Replace the dispenser if it has a cracked frame, loose blade, or damaged powered mechanism.
Conclusion
Most tape dispenser repairs are simple: remove the roll, clean the tape path, inspect the cutter, and reload the tape correctly. Adjust tension only after checking the basic setup.
If the dispenser has a sharp loose part, cracked frame, damaged spring, or electrical fault, do not force a repair. Replace it or use the manufacturer’s approved service method.