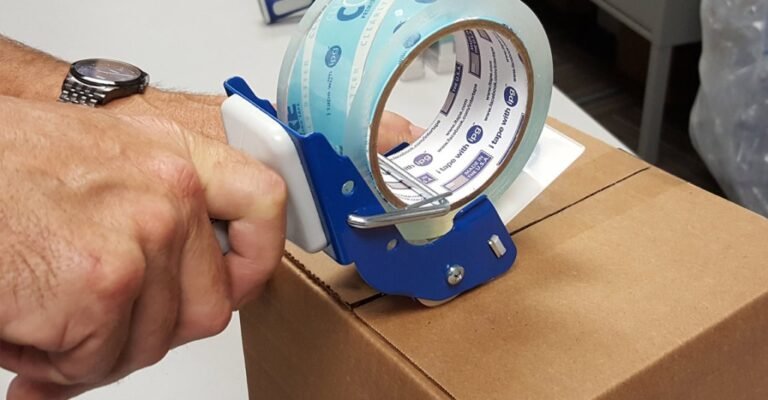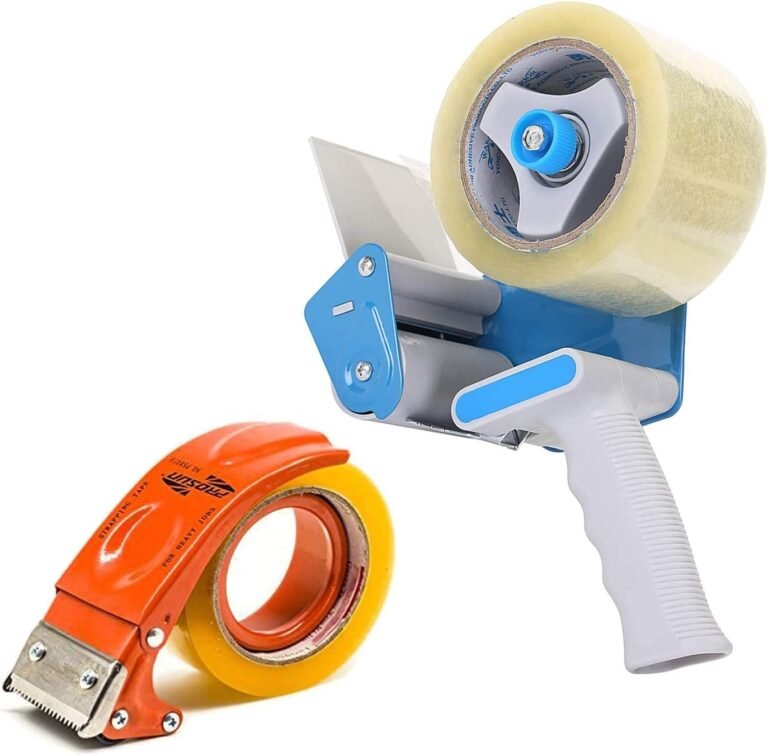
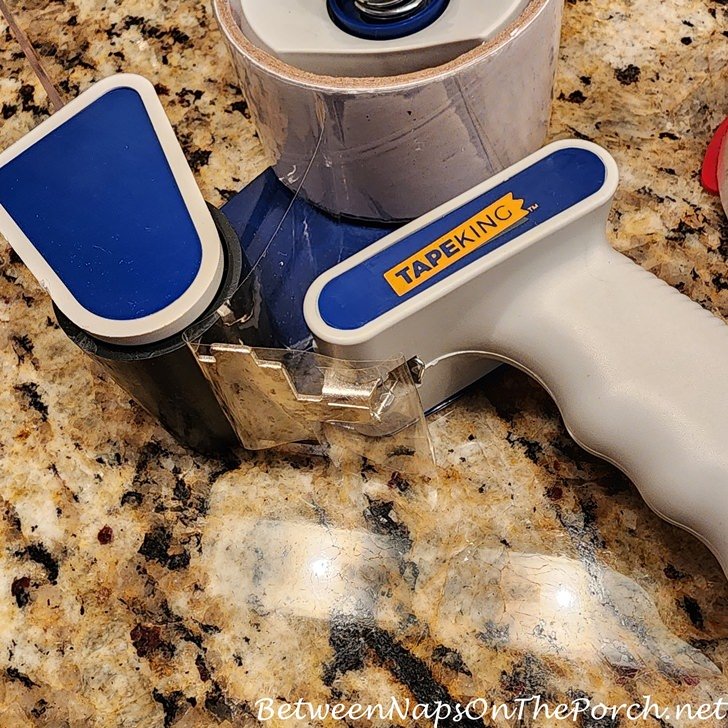
A sticky tape dispenser is often easy to fix. In most cases, tape glue, dust, a loose roll, or a dull cutter causes the problem. Unplug electric models, keep fingers away from sharp blades, and clean the dispenser before replacing parts.
This guide applies to common desk, packing, shipping, and handheld tape dispensers used in U.S. homes, offices, schools, and small businesses.
Quick Answer
To fix a sticky tape dispenser, remove the tape roll and clean all glue from the blade, roller, axle, and tape path. Check that the roll fits the holder and turns in the correct direction. Then reload the tape, pull it across the guide, and test the cutter.
If the dispenser still sticks, check for:
- A bent or dull cutting blade
- A cracked roller
- A tight or damaged tape roll
- A loose axle or spring
- Tape loaded backward
- Adhesive buildup inside the housing
- A broken tension control
A low-cost plastic dispenser may be easier to replace. A metal packing dispenser or electric unit may be worth repairing if the frame and moving parts remain sound.
What You Need Before You Start
Gather a few basic items before opening the dispenser:
- A clean cloth
- Warm water
- Mild dish soap
- Cotton swabs
- Rubbing alcohol, if the manufacturer allows it
- A plastic scraper or old gift card
- Small screwdriver, if needed
- Replacement tape
- Work gloves for models with exposed blades
Do not use a knife, razor, or metal tool to scrape glue from a plastic dispenser. These tools can scratch the surface or damage the tape guide.
For electric dispensers, disconnect the power before cleaning or removing tape. Do not place water near the motor, controls, plug, or power cord.
Check the Dispenser Type
The repair steps depend on the type of dispenser.
| Dispenser type | Common issue | First check |
|---|---|---|
| Desktop tape dispenser | Glue on the blade or roller | Clean the tape path |
| Handheld packing dispenser | Tape roll tension or wrong loading | Check the roll direction |
| Electric tape dispenser | Jammed tape or sensor issue | Disconnect power and clear the path |
| Water-activated tape dispenser | Wet glue or feed roller buildup | Clean and dry the rollers |
| Decorative or specialty dispenser | Small parts or custom tape size | Follow the model manual |
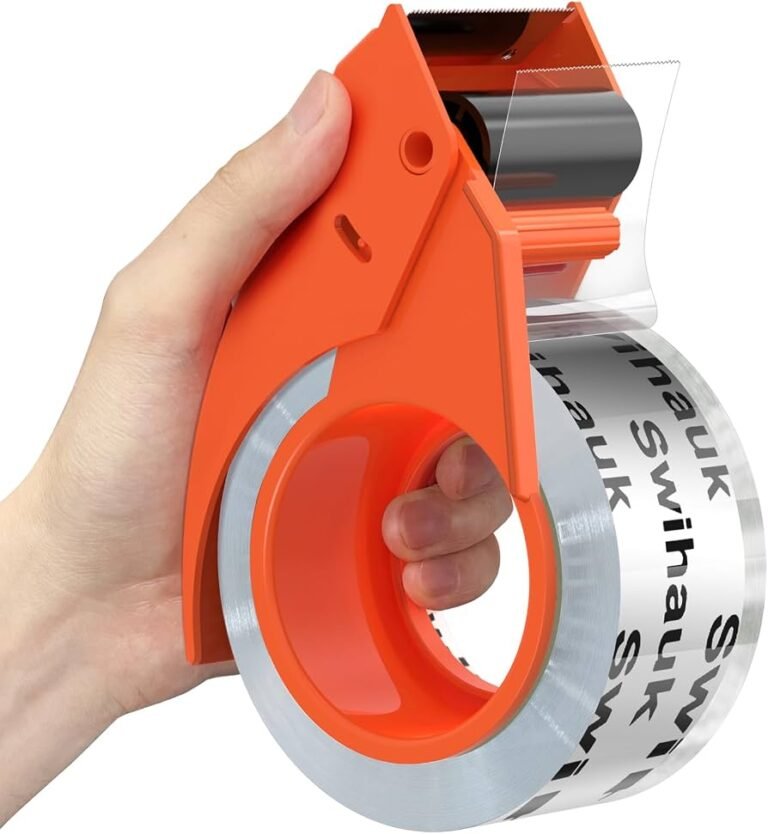
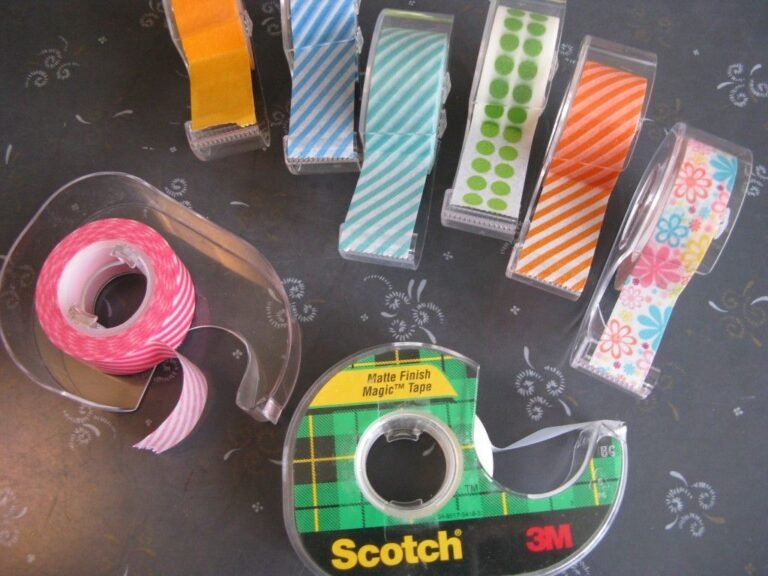
Most desktop tape dispensers have a weighted base, a tape axle, a guide, and a serrated cutting edge. Packing dispensers often add a brake, tension plate, guard, and adjustable handle.
Find the Cause of the Sticky Tape Dispenser
The best repair starts with the symptom. Do not force the tape through the unit. That can pull the roll apart or bend the cutter.
| Symptom | Likely cause | Best first action |
|---|---|---|
| Tape will not move | Glue, jam, or tight roll | Remove the roll and clean the path |
| Tape moves but will not cut | Dull or coated blade | Clean the blade and check for damage |
| Tape tears in the wrong place | Misaligned guide or cutter | Reload the tape and inspect alignment |
| Tape sticks to the roller | Adhesive buildup | Clean the roller with a cloth |
| Roll spins too fast | Loose brake or tension control | Adjust the brake or tension |
| Roll will not spin | Tight axle or crushed core | Check the core and axle |
| Tape folds over | Wrong loading direction | Reload with the adhesive side facing correctly |
| Base slides on the desk | Worn or dirty feet | Clean or replace the rubber feet |
| Electric model stops feeding | Jam, sensor issue, or power fault | Disconnect power and follow the manual |
A sticky blade does not always mean the blade needs replacement. Tape adhesive can coat the teeth and make a sharp cutter seem dull.

How to Fix a Sticky Tape Dispenser Step by Step
Follow these steps in order. They begin with the safest and most common fixes.
1. Remove the Tape Roll
Pull off any loose tape. Then remove the roll from the axle or holder.
If the tape has wrapped around a roller, do not yank it. Cut the tape free with scissors away from the dispenser’s blade. Remove small scraps with your fingers or a plastic scraper.
Inspect the roll. Replace it if:
- The cardboard core is crushed
- The tape edge is folded
- The roll is swollen or misshapen
- The adhesive has leaked onto the sides
- The roll does not fit the axle
A damaged roll can make a good dispenser appear broken.
2. Clean the Tape Path
Start with a dry cloth. Wipe the axle, guide, roller, and nearby housing.
For dried adhesive, dampen a cloth with warm water and a small amount of dish soap. Rub gently until the glue softens. Use cotton swabs for narrow gaps.
If the residue remains, use a small amount of rubbing alcohol on a cloth. Test it on a hidden area first. Alcohol may cloud, soften, or remove the finish from some plastics, painted parts, or printed surfaces.
Never pour liquid into the dispenser. Apply the cleaner to the cloth, not directly to the unit.
3. Clean the Cutting Blade
The cutter is often the main source of trouble. Tape glue can fill the small spaces between its teeth.
Wipe the blade from the back toward the edge. Keep your fingers behind the cutting edge. Use a cotton swab or folded cloth to lift residue from the teeth.
For firm buildup, use a plastic card. Press lightly and work along the blade. Do not bend the teeth.
Replace the cutter if it is:
- Bent
- Rusted
- Missing teeth
- Loose in its mount
- Too worn to catch the tape
Some blades are riveted into the housing. If so, replacement may not be practical. A new dispenser may cost less and provide a safer repair.
4. Check the Axle and Roll Holder
The roll should turn with light, even resistance. It should not wobble, scrape, or lock in place.
Turn the empty axle by hand. Look for:
- Tape glue on the axle
- A cracked plastic hub
- A bent metal rod
- A loose end cap
- A spring that has moved out of place
- A roll core that is too narrow or wide
Clean the axle and let it dry. Do not add oil unless the product manual calls for it. Oil can spread onto the tape and make the adhesive less reliable.
If the roll is too tight, do not force it onto the holder. A tight fit can stop the tape from feeding.
5. Reload the Tape Correctly
Place the roll on the axle in the direction shown by the dispenser’s markings or manual. On many dispensers, the tape feeds from the bottom or front of the roll, but the correct direction varies by design.
Pull the tape through the guide. Keep it flat and centered. The adhesive side should contact the intended roller or surface, not the wrong part of the housing.
Leave a short strip of tape exposed. This gives you a starting tab for the next use.
If the tape curls, folds, or slips to one side, remove it and reload it. A poor angle can cause repeated jams.
6. Test the Feed and Cut
Pull the tape slowly at first. Watch the roll and guide.
A successful repair should produce:
- Smooth roll movement
- A straight tape path
- No scraping or grinding
- No tape sticking to the roller
- A clean cut with light pressure
Test the dispenser several times. A unit that works once but jams again may still have residue, a damaged roller, or a faulty tension part.
7. Adjust Tension if the Dispenser Has It
Packing dispensers may have a brake or tension control. This part controls how freely the tape roll turns.
If the tape races forward, increase the tension slightly. If the tape will not pull, reduce the tension.
Make small changes. Turn the control a little, test the dispenser, and adjust again if needed. Excess tension can stretch the tape, tear the backing, or pull the dispenser across the box.

How to Fix a Tape Dispenser That Will Not Cut
A dispenser that feeds tape but does not cut it has a problem at the cutting edge or tape angle.
Try this order:
- Remove the tape.
- Clean the blade and nearby guide.
- Check for bent or missing teeth.
- Confirm that the tape passes over the correct side of the cutter.
- Reload a fresh roll.
- Pull the tape straight across the blade.
- Replace the cutter or dispenser if the edge remains damaged.
Do not press harder and harder on a damaged blade. Extra force can make the dispenser slip and cause a hand injury.
Some packing dispensers use a smooth tear bar rather than sharp teeth. These models need the tape to contact the bar at the correct angle. Follow the angle shown in the product instructions.
Why Do Tape Dispensers Have Sand? (The Surprising Reason Revealed)
How to Fix a Tape Dispenser That Keeps Jamming
Repeated jams usually point to one of four issues: a dirty path, a poor tape fit, incorrect loading, or a damaged guide.
Use this check:
- Remove all tape scraps.
- Clean the roller and guide.
- Inspect the roll edges.
- Confirm that the core fits the axle.
- Check that the tape stays centered.
- Look for cracks in the plastic housing.
- Check whether the guide moves freely.
- Try a new roll of the same tape type.
Tape width matters. A narrow tape roll may move from side to side in a wide holder. A wide roll may rub against the housing. Use the size listed by the dispenser maker when possible.
Tape thickness also affects feeding. Thick shipping tape may not work well in a dispenser made for thin office tape. Do not assume that rolls with the same width have the same fit or tension.
How to Fix an Electric Tape Dispenser
Electric tape dispensers need extra care because they contain powered parts.
First, turn off the unit and unplug it. Remove the tape roll and clear the feed path. Clean adhesive from the blade, sensor area, and rollers with a dry or lightly damp cloth.
Do not spray cleaner into the machine. Do not open the motor housing unless the manual gives safe service instructions.
Check the following:
- The power cord and plug
- The tape size setting
- The feed-length setting
- The roll position
- The sensor window
- The cutting mechanism
- Any visible jam or broken tape
If the unit smells hot, makes a new electrical sound, sparks, or trips a circuit, stop using it. Do not keep testing it. Contact the manufacturer or a qualified repair service.
When Cleaning Does Not Fix the Problem
Cleaning will not repair every dispenser. Replacement is more sensible when the main body is cracked, the cutter is permanently bent, or the axle no longer holds the roll.
Consider a replacement if:
- The dispenser cannot hold a normal roll
- The blade mount is loose
- The base no longer stays stable
- A spring or tension part is missing
- The roller is cracked
- The electric feed system fails
- Replacement parts cost close to a new unit
For a commercial or electric dispenser, check the model number before buying parts. Similar-looking parts may have different sizes or mounting points.
If a unit has a warranty, avoid drilling, bending, or opening sealed sections before checking the warranty terms.
How to Prevent Tape Dispenser Problems
A few habits can keep adhesive from building up.
- Store the dispenser in a cool, dry place.
- Keep it away from direct sunlight and heat.
- Use tape that matches the dispenser size.
- Keep the roll centered on the axle.
- Pull the tape in a straight line.
- Remove torn scraps at once.
- Wipe the cutter when it starts to feel tacky.
- Do not leave tape pressed against the blade for long periods.
- Keep dust and paper scraps away from the roller.
- Do not force a roll onto a tight holder.
Heat can make some adhesives softer. Dust and paper fibers can then stick to the softened glue. Regular cleaning is easier than removing a thick layer later.
Common Mistakes to Avoid
Using too much solvent
Strong solvents may damage plastic, paint, labels, and rubber feet. Start with warm water and mild soap. Use alcohol only when the material can tolerate it.
Scraping with a metal blade
A metal scraper can damage the guide or leave sharp burrs. Use a plastic card instead.
Oiling the tape path
Oil may spread onto the tape. It can also collect dust and create a worse jam.
Pulling at a sharp angle
A side pull can move the tape off center. Pull along the dispenser’s intended path.
Using the wrong tape
Tape with the wrong width, core, thickness, or adhesive can cause feed problems even when the dispenser is working correctly.
Ignoring the blade
A dirty blade can look dull. Clean it before deciding that it needs replacement.
Working on a powered unit
Always unplug an electric dispenser before clearing a jam or cleaning near moving parts.
Key Takeaways
- Clean the tape path before replacing parts.
- Check the blade, roller, axle, and tape roll.
- Reload the tape in the correct direction.
- Use small tension adjustments on packing dispensers.
- Match the tape width and core to the dispenser.
- Replace damaged blades, rollers, or housings when repair is not practical.
- Unplug electric models before service.
- Keep fingers behind exposed cutting edges.
FAQs
Why does my tape dispenser stick to the tape?
Tape adhesive may have built up on the blade, roller, or guide. Remove the tape, clean the affected parts, and let them dry before reloading the roll.
Can I use WD-40 to clean a sticky tape dispenser?
It is usually not a good choice. An oily spray can spread onto the tape, attract dust, and leave the feed path slippery. Use warm soapy water first, or a small amount of rubbing alcohol if the material allows it.
Why does my tape dispenser keep pulling the tape sideways?
The roll may be off-center, the axle may be bent, or the tape may be loaded at an angle. Check the roll fit and guide alignment. Try a fresh roll if the tape edge is already curled.
Can I sharpen a tape dispenser blade?
Do not try to sharpen a small serrated blade by hand. You may bend the teeth or create a dangerous edge. Clean the blade first. Replace the cutter or dispenser if it remains unable to cut.
Why will a tape dispenser not hold the roll?
The axle, end cap, or core holder may be cracked or missing. The roll may also have the wrong core size. Compare the roll with the dispenser’s stated specifications.
Conclusion
Most sticky tape dispensers need cleaning, correct loading, or a small tension adjustment—not a complex repair. Remove the roll, clear the adhesive, inspect the blade and axle, then test the unit with a properly sized roll.
If the dispenser still jams after these checks, inspect the guide, roller, spring, and housing for damage. Replace unsafe or badly worn parts rather than forcing the tape through the machine.